Post by southernlures on Jul 4, 2012 15:06:08 GMT -5
Step Down Dirt Hole Set with pics
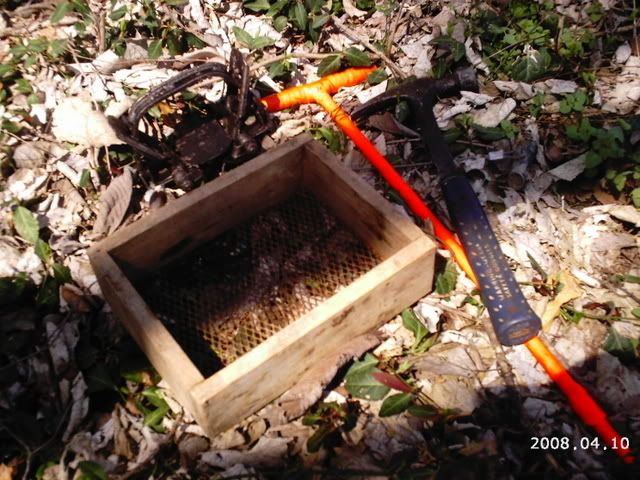
The first picture shows the tools i used to make this set. A good claw hammer will do the trick for a shovel in this set up. Then we have our dirt sifter. Next we have the anchor setter for our conduit anchor. Now before you start to make this set take your anchor setter and run it in the spot where you will be placing the set. This will save you some time and aggravation. Just think you have the set done and are ready to set the trap and find out there is no way your trap anchor is going to work in this location. So always do this step first.
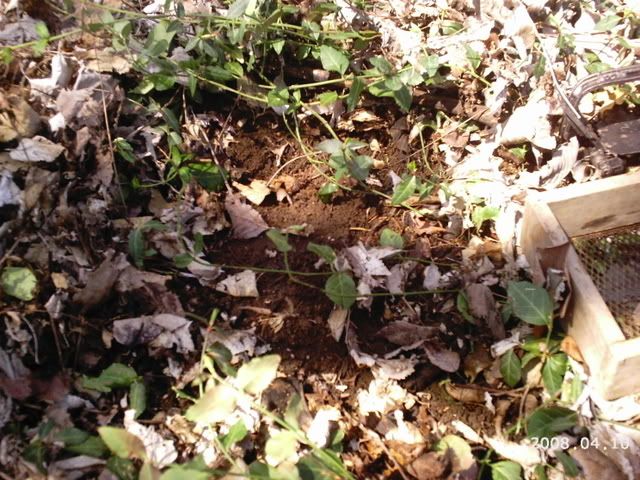
The next step is to clear the spot of debrie and other obstacles where we plan to use this set. Once we have the anchor hole put in. We now know its safe to proceed to build this set up. The next pic shows where we have the spot cleared and ready for construction.
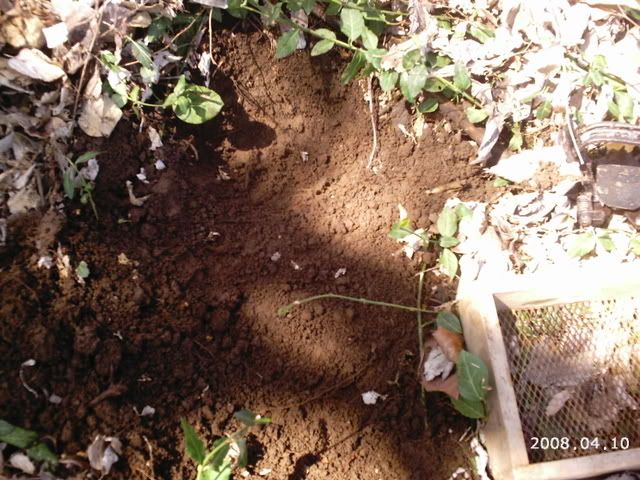
The next picture shows where we have cleared 2 levels of dirt in this hole. The first level is about 2 to 3 inches down. This is the level where the trap will be placed. The next level is where we will be putting the dirt hole. As you can see in the picture the lower hole has the smaller dirt hole in it. This dirt hole in 5 to 6 inches below the grass or dirt top.
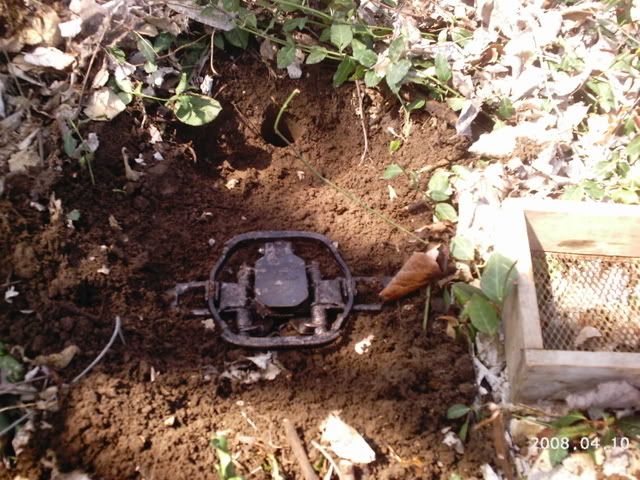
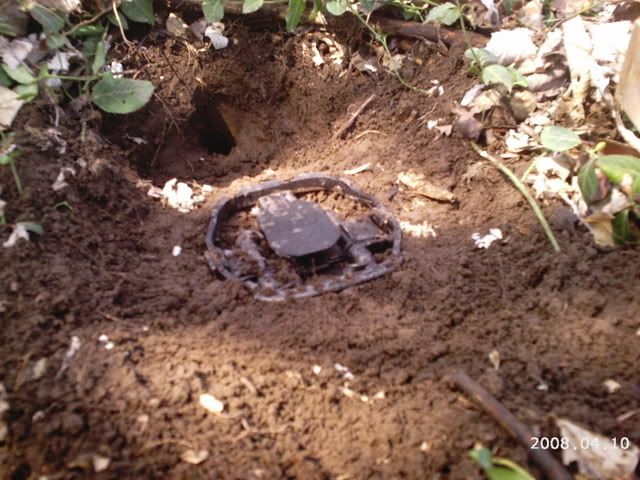
The next picture shows where we have the trap bedded in the first level. The dirt hole is below the trap. This is where the animal will step down into the first level to reach the hole for a try at the bait or lure in the hole.
The next picture shows the trap with the dirt packed in around the jaws and it has been bedded solid and is awaiting the next step.
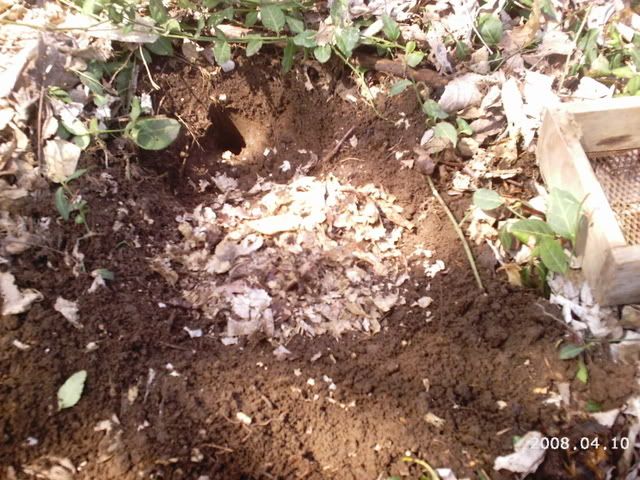
Now the next picture will show where i have taken some dry leaves and crushed them to make a trap covering. This will keep mud and other debrie from getting between the pan and frame of trap. If we didn't do this step the trap would get the dirt and debrie under pan and not fire. You may also use wax paper or any other pan covering you would like. But for this set in good conditions will work great.
The next picture shows where i have taken the sifter and sifted a fine layer of dirt over the crushed leaves. This adds to the illusion of the step down.
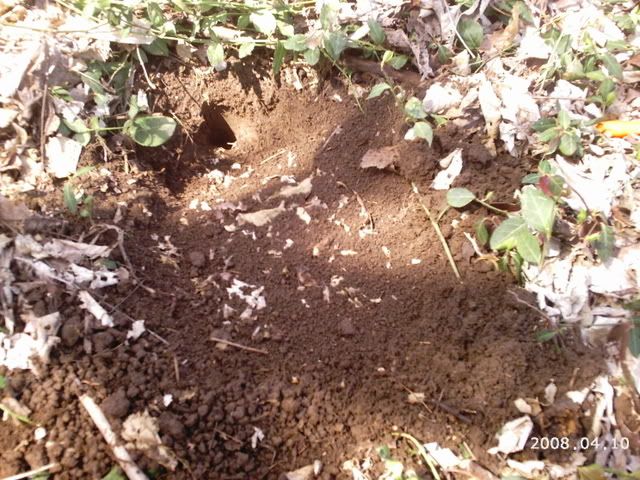
The last and final picture we try and blend the lip of the main hole. Now you have a completed step down dirt hole set. I hope you find a great location in which to make this set as it is a good bet that the animal will be stepping down into the hole. And right into your trap. The step down is a natural backing and more or less makes them work the set from the direction of the trap. Good luck with it.
The first picture shows the tools i used to make this set. A good claw hammer will do the trick for a shovel in this set up. Then we have our dirt sifter. Next we have the anchor setter for our conduit anchor. Now before you start to make this set take your anchor setter and run it in the spot where you will be placing the set. This will save you some time and aggravation. Just think you have the set done and are ready to set the trap and find out there is no way your trap anchor is going to work in this location. So always do this step first.

The next step is to clear the spot of debrie and other obstacles where we plan to use this set. Once we have the anchor hole put in. We now know its safe to proceed to build this set up. The next pic shows where we have the spot cleared and ready for construction.

The next picture shows where we have cleared 2 levels of dirt in this hole. The first level is about 2 to 3 inches down. This is the level where the trap will be placed. The next level is where we will be putting the dirt hole. As you can see in the picture the lower hole has the smaller dirt hole in it. This dirt hole in 5 to 6 inches below the grass or dirt top.

The next picture shows where we have the trap bedded in the first level. The dirt hole is below the trap. This is where the animal will step down into the first level to reach the hole for a try at the bait or lure in the hole.

The next picture shows the trap with the dirt packed in around the jaws and it has been bedded solid and is awaiting the next step.

Now the next picture will show where i have taken some dry leaves and crushed them to make a trap covering. This will keep mud and other debrie from getting between the pan and frame of trap. If we didn't do this step the trap would get the dirt and debrie under pan and not fire. You may also use wax paper or any other pan covering you would like. But for this set in good conditions will work great.

The next picture shows where i have taken the sifter and sifted a fine layer of dirt over the crushed leaves. This adds to the illusion of the step down.

The last and final picture we try and blend the lip of the main hole. Now you have a completed step down dirt hole set. I hope you find a great location in which to make this set as it is a good bet that the animal will be stepping down into the hole. And right into your trap. The step down is a natural backing and more or less makes them work the set from the direction of the trap. Good luck with it.
